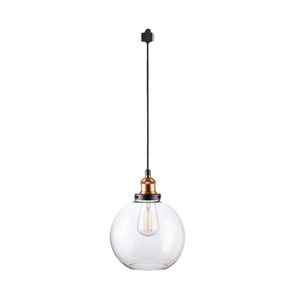
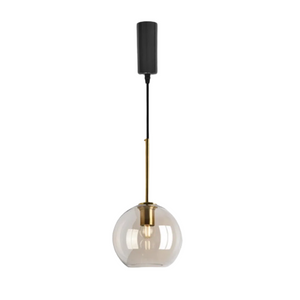
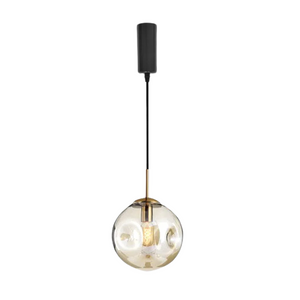
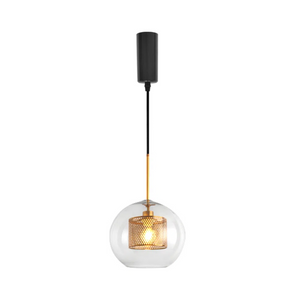
Track lighting is a simple way to get flexible, stylish light in any room. With H track lighting, L type track lighting, J type track lighting, and other designs, you can pick a setup that works for your ceiling and layout. Different track lighting heads let you control where light falls, and adjustable track lighting makes it easy to tweak the look whenever you want. A thoughtful plan ensures your track light not only looks good but also works perfectly for your needs.
Before You Plan: Track Lighting Basics You’ll Want to Know
An effectively designed track lighting plan begins with several important decisions:
- Determine a specific lighting purpose. Will the lighting offer general room illumination, spotlight artwork, illuminate a desk or countertop, or bring focused light to a particular task area? The purpose will dictate the track location and the kind of lighting heads you require.
- Select a single track type. Standard options are H track lighting, L type track lighting, and J type track lighting. They each have a different connector style, so all of the tracks, heads, and accessories need to be the same type to be compatible.
- Select the suitable lighting heads. Track lighting heads vary in beam spread and style. Narrow beams are perfect for accenting, while wider beams light up larger areas. Adjustable track lighting is useful when you want to change the direction of light.
- Measure and evaluate the space. Measure the length and width of the room to calculate how much track you will require. A 15-foot-long living room, for instance, might require an 8–10-foot straight track with equally spaced heads so as to prevent dark areas. Note the ceiling height as well: in an 8-foot standard room, lights must be mounted near the ceiling for general lighting, but in a 10-foot or taller ceiling, you might require brighter heads or closer track spacing to ensure satisfactory light levels. Think about fixed elements like ceiling vents, beams, or fans that might restrict where you install the track.
1. Decide How You Want Your Space Lit
Decide what you need your track lighting to do before you shop or install. Do you need general, bright, even light for an entire room, focused light for a kitchen island, or accent light to highlight artwork or shelves? For overall lighting, use an installation that spreads light evenly. For task lighting, angle track lighting heads towards work surfaces. For accent lighting, use adjustable track lighting so you can direct light exactly where it's needed. Understanding what you're attempting to do helps you choose the right track type, head style, and location from the start.

2. Measure Your Room and Check Your Ceiling
Take a measurement of the room's length and width to determine how much track you will require. Indicate the location of the main furniture or features in your plan, such as sofas, tables, counters, or paintings, so that you know where you want to point the light. Ceiling height is also relevant:
- 8-foot ceilings: Standard track heads work well, and spacing them 2–3 feet apart usually provides good coverage.
- 9–10 foot ceilings: You may need brighter bulbs or narrower beam angles so light reaches surfaces effectively.
- Higher than 10 feet: Consider heads with higher wattage or adjustable aiming to prevent the light from feeling dim.
In addition, look for hindrances such as ceiling vents, beams, or fans that may restrict positioning.
3. Pick the Track Shape That Works for Your Room
Track shape affects lighting coverage and the look in the room. Some of the popular forms are:
- Straight line: Simple and works well in hallways or above counters.
- L-shape: Ideal for lighting two adjoining walls or corner areas.
- U-shape: Covers three sides of a space, good for kitchen work areas or galleries.
- Square or rectangle: Provides even coverage in larger rooms.
When choosing a shape, think about the spaces that you want to have light and the path of the track on the ceiling. Make sure that the kind of track you choose—H track lighting, L type track lighting, or J type track lighting—will accommodate all the connectors and heads that you will be using.

4. Pick the Light Heads That Fit Your Needs
Choosing the right track lighting heads makes a big difference in how your space looks and feels.
- Spot heads: Narrow beam, great for highlighting artwork or specific features.
- Flood heads: Wider beam, better for general room lighting.
- Specialty heads: Some have unique shapes or adjustable arms for flexible lighting needs.
If you want flexibility, adjustable track lighting lets you swivel or tilt the head to change the focus anytime. Match the head style to your lighting goal from Step 1. For example, in a kitchen, you might use spot heads for a counter and flood heads for the dining area. Always make sure the heads fit your chosen track type, such as H track lighting, L type track lighting, or J type track lighting.
5. Space Your Lights So They Look Just Right
Proper spacing ensures even light without dark spots or glare. As a general rule:
- Space heads 2–3 feet apart for general lighting on an 8-foot ceiling.
- For taller ceilings, place them a bit closer together or use brighter bulbs.
- When lighting artwork or a wall, place the head 2–3 feet away from the wall and angle it at about 30 degrees to reduce shadows and glare.
Also, consider the number of heads per track. Too few can leave areas dim, while too many can cause overlapping light and wasted energy. Aim for consistent coverage based on your room’s size and the beam spread of the heads you choose.
6. Make the Final Changes Before You’re Done
Once everything is in place, make small adjustments for the best results. Aim track lighting heads so the light falls exactly where you want it, whether on a table, artwork, or seating area. If using adjustable track lighting, fine-tune the angle to reduce shadows and create a balanced look. Check that all connectors are secure, the bulbs match in color temperature, and there’s no glare from sitting or standing positions. For larger layouts, test the lighting at night to make sure it works well in real conditions. Taking these last steps helps your track light setup look neat and function exactly as planned.

Time to Put Your Track Lighting Plan in Place
Getting your track lighting layout right can make your space brighter, more stylish, and more functional. With the right track type, well-chosen track lighting heads, and smart spacing, you’ll have lighting that works exactly where you need it. Whether you go for H track lighting, L type track lighting, J type track lighting, or a flexible adjustable setup, a little planning goes a long way. Measure your space, choose your layout, and start creating the lighting look you’ve been imagining.
Track Lighting Layout FAQs for Better Planning
Q1: What are the three types of track lighting?
The three main types are H track lighting, J type track lighting, and L type track lighting. They differ in the shape of the track and the connector design.
- H track lighting: Has three contacts inside the track and is about 1-3/8 inches wide.
- J type track lighting: Has two contacts with a slightly longer contact tip, about 1-1/2 inches wide.
- L type track lighting: Has two contacts with a different connector arrangement and is about 1-3/8 inches wide.
These systems are not interchangeable; the heads and tracks must be from the same type.
Q2: What is the minimum spacing of track lights?
For overall lighting, install space track lighting heads 2–3 feet apart on the track. This ensures even coverage of light and avoids too dark or too bright spots. For accent lighting, the spacing varies depending on the size and position of the object that is being accented.
Q3: How many lights can you put on a track light?
The number is calculated based on the track length, the wattage of each head, and the circuit's maximum load. As a reference point, a standard 15-amp circuit will handle up to 1,440 watts (80% of 1,800 watts for safety). For example, with 50-watt heads, you could install up to 28 heads, but in most homes, 6–8 heads on a single track is standard for safe operation and even lighting.
Q4: Can track lighting be cut to length?
Yes, you can cut most straight track pieces to a shorter length using a hacksaw. Be sure to cut only the aluminum track and not damage the copper conductors within. Cover the exposed edge with an end cap after cutting.
Q5: Can track lighting be installed on a wall?
Yes, track lighting can be installed on walls as well as ceilings. Wall-mounted track lights are commonly utilized for accent lighting, e.g., to highlight artwork or shelves. The track needs to be fastened firmly to studs or other solid backing.
Q6: Is a false ceiling necessary for track lights?
No, track lighting does not require a false ceiling. It can be mounted directly to most ceilings, including concrete, drywall, or wood. However, a false ceiling can help conceal wiring for a cleaner look if the wiring cannot be routed inside the existing ceiling.
Q7: How far should track lights be from the wall?
For wall washing or accent lighting, position the track 2–3 feet away from the wall and adjust the heads at about 30 degrees. This will reduce glare and encourage even distribution of light. For general lighting, the track can be positioned further into the room.
Q8: How many track lights per foot?
There's no fast and firm "per foot" rule, but for general lighting on an 8-foot ceiling, a track lighting head every 2–3 feet is typical. On higher ceilings, place heads closer to each other or use brighter bulbs to maintain adequate light levels.


