
That stunning vintage pendant light you found looks perfect over your kitchen island... until you turn it on. Suddenly, you’re seeing spots, and your relaxing dinner space feels more like an interrogation room.
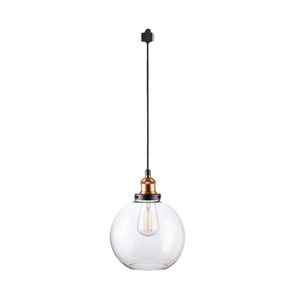
We’ve all been there. We fall in love with the look of a fixture: the clear glass, the exposed filament bulb, the industrial metal, only to find that living with it is a headache (literally). Glare is the single biggest culprit that turns a beautiful room into an uncomfortable one.
But here’s the good news: you don't need to trade off style for comfort. You can keep the fixtures you love and eliminate that eye-straining glare with a few simple, game-changing DIY solutions. This guide will walk you through why your lights are hurting your eyes and, more importantly, how to fix them today.

Why Your Vintage Light Fixtures Could Possibly Hurt Your Eyes
The charm of vintage and industrial-style fixtures often lies in their simplicity: clear glass shades, exposed bulbs, and raw materials. Unfortunately, these exact features are the root cause of most glare problems.
Glare usually happens when a light source is too bright, or the contrast between the light and the surrounding area is too high. In such cases, our eyes are forced to process an intense, focused point of light, which causes discomfort, eye strain, and headaches.
Here’s the breakdown of the common culprits:
- Exposed Filament Bulbs: Clear Edison bulbs are beautiful, but they were designed for an era before electric lighting was the primary source. Their unshielded filament is a direct source of glare.
- Clear Glass Shades: A clear glass shade does nothing to diffuse or soften the light. It simply contains it, allowing you to see the harsh bulb right through the glass.
- Wrong Bulb Choice: Many people put high-lumen, "cool white" LED bulbs into fixtures designed for the soft, warm glow of a low-wattage incandescent. The result is a light that’s clinically bright and completely overwhelming.
The Hidden Problem with Old Bathroom Light Fixtures
This problem is amplified in the bathroom. Think of the classic "Hollywood" vanity light—a strip of bare, round bulbs above the mirror. It’s a classic look, but it’s terrible for function.
When you look in the mirror, those bare bulbs hit you with direct glare from multiple angles. This creates harsh, unnatural shadows on your face, making tasks like applying makeup or shaving incredibly difficult. You end up with uneven results because you're fighting shadows and spots in your vision. A comfortable bathroom requires soft, even light that illuminates your face from the front and sides, not a series of spotlights.
Three Game-Changing DIY Fixes You Can Install Today
Ready to solve the problem? You don't need to be an electrician, and you certainly don't need to throw out your favorite lights. These three solutions range from simple swaps to minor modifications that make a major difference.
Solution 1: Light Diffuser Shades That Work Magic
The most effective way to eliminate glare is to diffuse the light source. Diffusion is the process of scattering light, turning a harsh, single point into a soft, even glow.
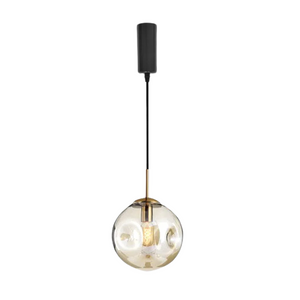
- What to do: If your pendant light has a removable shade, this is your best option. Swap your clear glass shade for one made of frosted glass, opal glass, or fabric.
- Why it works: Opal or "milky" white glass is the ultimate diffuser. It scatters the light completely, hiding the bulb and creating a beautiful, uniform surface of light. Fabric drum shades do the same, adding a layer of texture and warmth.
- Pro-Tip: For fixtures where you can't swap the shade, look for DIY solutions. You can sometimes fit a thin, cut-to-size "diffuser disc" of acrylic or parchment paper at the bottom of an open drum shade to block the direct view of the bulb.
Solution 2: Anti-Glare Baffles for Directional Control
If your problem is side glare from a light that’s supposed to be focused downwards (like over a counter), a baffle is your solution.
- What to do: A baffle is a grille or fin that controls the direction of light and shields the bulb from view at certain angles. You can often purchase a honeycomb louver (a metallic grid) that can be cut to fit inside your pendant's shade.
- Why it works: The honeycomb structure blocks your view of the bulb from the side but allows the light to pass straight down. This is perfect for task lighting in a kitchen, where you want bright light on the countertops but not in your eyes when you're sitting at the island. For more advanced directional control, explore our versatile track lighting systems that offer maximum flexibility.
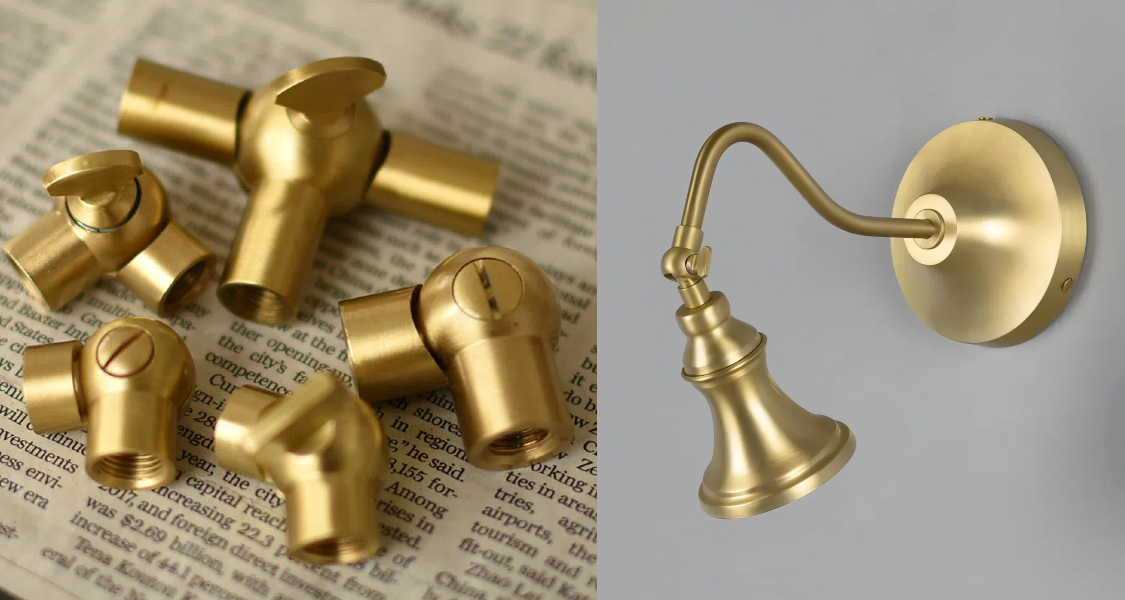
- Shopping Tip: When buying new fixtures, look for "deep-shade" pendants where the bulb is recessed high up inside the shade. This design, like many found at Kiven Lighting, has a natural baffle and shields the light source from your line of sight. Learning how to choose the right fixture components is essential for avoiding glare from the start.
Solution 3: Smart Bulb Swaps for Quick Relief
This is, by far, the easiest and fastest DIY fix. Often, the fixture isn't the problem—the bulb is.
- Go Frosted: If you love the Edison-style ST64 or G25 bulb shape, simply swap your clear version for a frosted or opal version. You get the same vintage silhouette without the blinding filament.
- Check Your Specs:
Lumens: Stop buying bulbs based on "Watts." Look at Lumens (brightness). A typical 60W bulb is ~800 lumens, which is often too bright for an exposed pendant. Try a 400-lumen bulb instead.
Kelvin: Stop using "Daylight" (5000K+) bulbs in relaxing spaces. Look for Warm White (2700K-3000K). This range provides a cozy, inviting, golden glow.
Get Smart (and Dim!): The ultimate solution is a smart bulb or a dimmer switch. Glare is often a problem of too much light. With a smart bulb, you can dim the light to 10% for ambiance, change the color temperature from warm to cool, and set the perfect scene, all from your phone.
Choosing the Best Light Fixtures for Bedrooms
When it comes to bedroom lighting, the rules change. This isn't a task-heavy kitchen; it's a sanctuary for rest. Glare, in any form, is the enemy of relaxation.
The goal in a bedroom is to create soft pools of light, known as layered lighting. You need an ambient layer (general light), a task layer (for reading), and an accent layer (for mood).
What Makes Bedroom Lighting Different
Bedroom lighting should be indirect. This means the light source itself should be hidden.
- Avoid: Recessed lights or ceiling fans with exposed bulbs directly over the bed. This is the worst place for glare.
- Choose Instead:
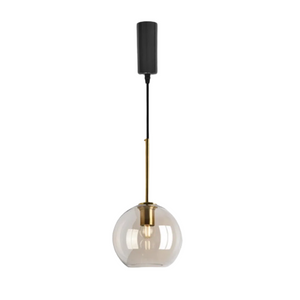
Pendants with Opaque Shades: A pendant with a full fabric, metal, or opal glass shade that directs light downward or glows from within is ideal.
Wall Sconces: This is the secret weapon for bedrooms. Mounting sconces on either side of the bed (like Kiven's popular swing-arm wall lamps) provides perfect reading light without hitting your partner in the eyes.
Dimmers: A dimmer switch is not optional in a bedroom. It is a necessity. It allows you to transition the room from bright and clean to soft and intimate.
Step-by-Step Installation Guide for DIY Beginners
Let's walk through the simplest, most impactful DIY: swapping your harsh, clear pendant shade for a beautiful, diffused one.
Disclaimer: This is only an illustration of what are the steps. However, please do remember that always work with electricity safely. No matter what, please contact a qualified electrician, unless you are the electrician! Even for professionals, unexpected issues can arise, so it's always best to be prepared for common lighting installation problems.
- Safety First! Go to your home's circuit breaker and flip the breaker that controls your light fixture. Go back to the light and test the switch to ensure the power is completely off.
- Remove the Bulb: Gently unscrew the light bulb and set it aside.
- Locate the Retaining Ring: Look up inside the fixture. Most pendant shades are held in place by a "socket ring" or "shade ring"—a threaded plastic or metal ring that screws onto the bulb socket.
- Unscrew the Ring: Carefully unscrew this retaining ring (it may be tight). Hold the glass shade with your other hand so it doesn't drop as the ring comes loose.
- Remove the Old Shade: Slide the clear glass shade off the fixture and set it aside.
- Install the New Shade: Slide your new frosted or opal glass shade into place over the socket.
- Secure the Shade: While holding the new shade, screw the retaining ring back onto the socket. Hand-tighten it until it's snug. Do not overtighten, as this can crack the glass or strip the threads.
- Test Your Work: Screw your (preferably warm-white and dimmable) bulb back in. Go back to the breaker, flip it on, and test your light. Enjoy the new, soft, and completely glare-free glow!
Create Your Glare-Free Home with These Simple Solutions

Beautiful home lighting and eye comfort should never be mutually exclusive. That stunning vintage fixture or modern pendant doesn't have to be a source of strain.
By understanding that the problem is almost always the exposed light source, you can easily fix it. Your three main tools are:
- Diffusion: Swapping to frosted/opal shades or bulbs.
- Direction: Using baffles or deep-shade fixtures.
- Dimming: Adding smart bulbs or dimmer switches.
With these simple DIY solutions, you can finally have a home that is as comfortable as it is stylish.
Ready to find your perfect glare-free solution? Browse the Kiven Lighting collection of opal glass pendants, fabric shades, and wall-mounted sconces to start your transformation today.